Makeup sponges have become an essential tool in every beauty enthusiast’s collection. They provide a flawless and airbrushed finish to our foundation, concealer, and other complexion products. However, to maintain their effectiveness and prevent the buildup of bacteria and residue, regular cleaning is crucial. In this article, we will guide you through the process of cleaning your makeup sponge effectively, ensuring that you achieve a flawless application every time.
Why Cleaning Your Makeup Sponge is Important
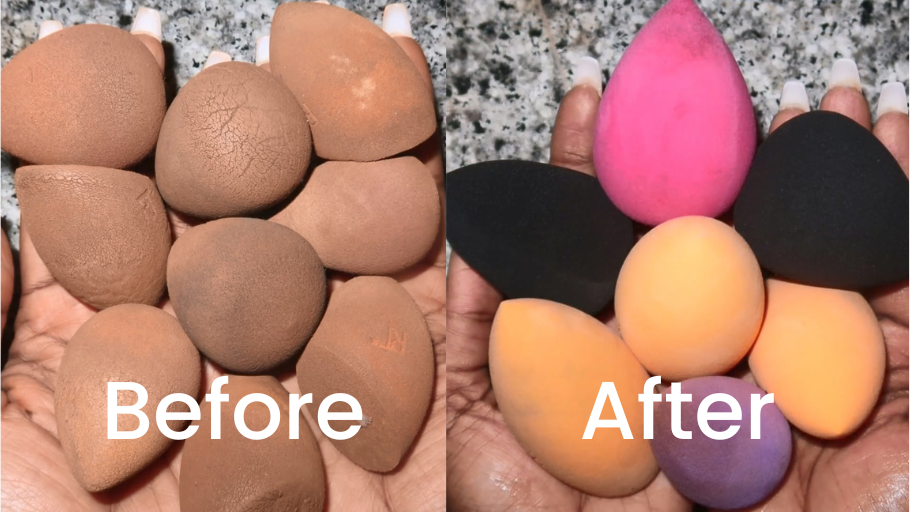
Cleaning your makeup sponge is crucial for several reasons. Firstly, it removes the buildup of makeup residue, oils, and bacteria that can accumulate on the surface. This buildup not only affects the performance of the sponge but also increases the risk of skin irritation and breakouts. Secondly, regular cleaning helps maintain the sponge’s softness and elasticity, ensuring a seamless and streak-free application. Lastly, keeping your makeup sponge clean prolongs its lifespan, saving you money in the long run.
Supplies You Will Need
Before we begin the cleaning process, gather the following supplies:
- Oliva oil, washing-up liquid, mild liquid soap or gentle cleanser
- Warm water
- Clean towel or paper towel
- Optional: antimicrobial spray or brush cleanser
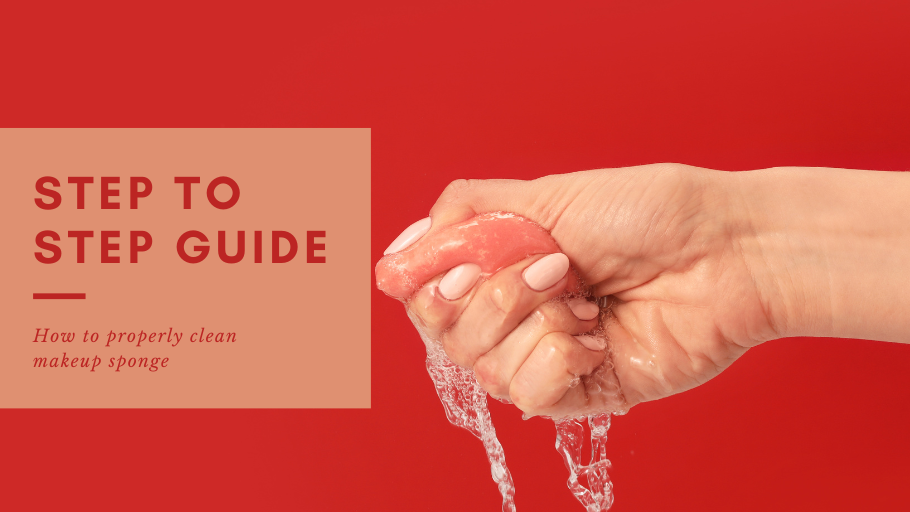
Step-by-Step Guide for Makeup Sponge Cleaning
-
Preparing the Water
One way to start the process is to fill a small bowl or sink with warm water. This can be accomplished by turning on the faucet and adjusting the temperature to a comfortable level. Once the bowl or sink is filled, you can then proceed to soak your hands or feet in the water, allowing the warmth and moisture to penetrate your skin and muscles. This can be a great way to relieve stress and tension, and to pamper yourself after a long day of work or activity.
-
Wetting the Sponge

Before applying the cleaning solution, wet the makeup sponge under running water until it is fully saturated. Squeeze out any excess water gently.
-
Add Washing-up Liquid
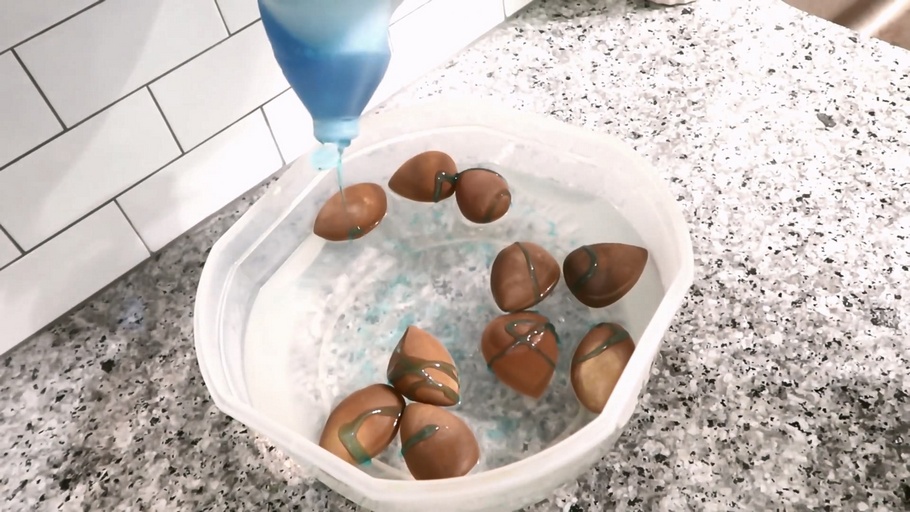
To ensure that your cleaning solution is effective, it is recommended to add a few drops of either Oliva oil, washing-up liquid, mild liquid soap, or a gentle cleanser to the water. By adding any of these options, you can not only help to remove dirt and grime, but also add nourishing ingredients to protect and moisturize your surfaces. It is important to note that using too much of any cleaning agent can lead to buildup and damage, so it is best to start with a small amount and adjust as needed.
In addition, it is also important to follow any care instructions provided by the manufacturer of your surfaces to ensure that they are not damaged during the cleaning process.
-
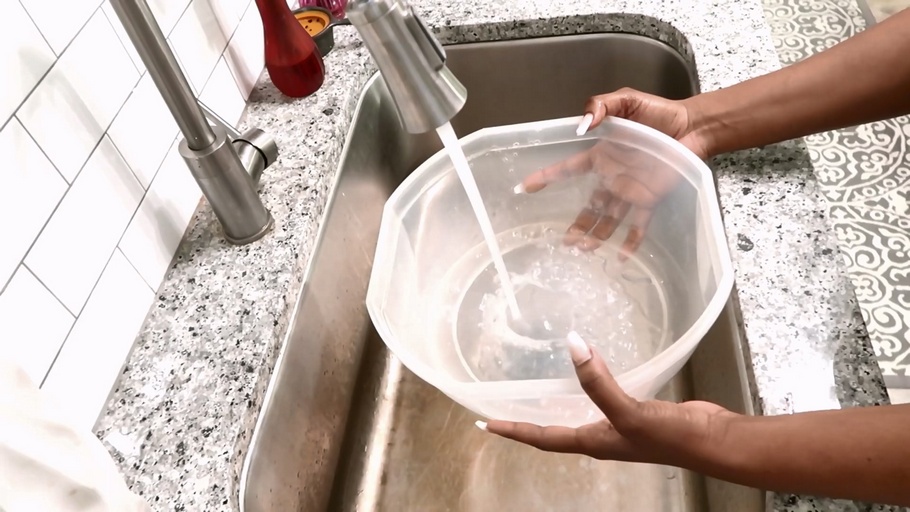
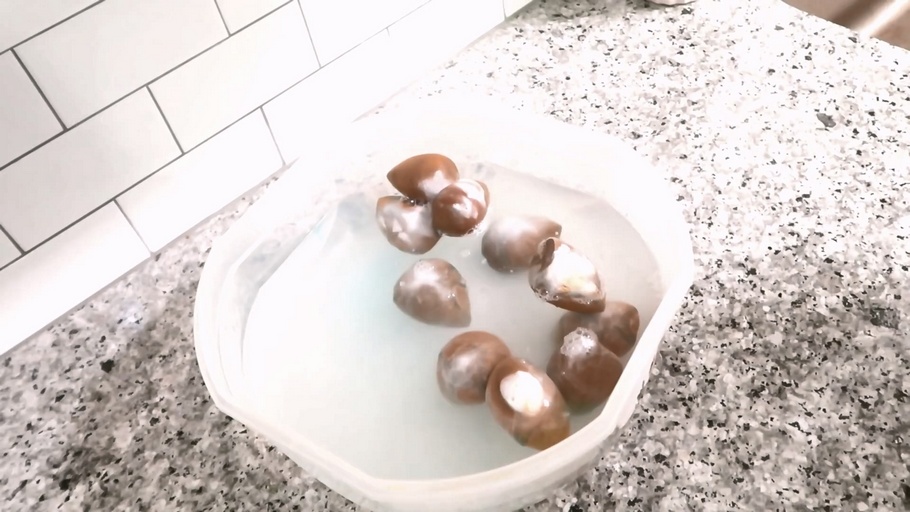
Mix the Water, Washing-up Liquid, and Makeup Sponge

To make a soapy solution, mix water and soap or cleanser together in a container. Stir the mixture for at least a minute to ensure the soap is fully dissolved. If you are using a cleanser, make sure to read the label to determine the correct amount to use. Once the solution is mixed, you can use it to clean a variety of surfaces such as dishes, countertops, or even your hands. Ensure that you rinse the surface thoroughly with water after cleaning to avoid leaving behind any residue that may cause irritation or damage.
-
Applying the Cleaning Solution

Dip the wet sponge into the soapy solution, ensuring that it is fully submerged. Allow the sponge to soak for a few minutes, allowing the cleaning solution to penetrate the makeup residue and bacteria.
-
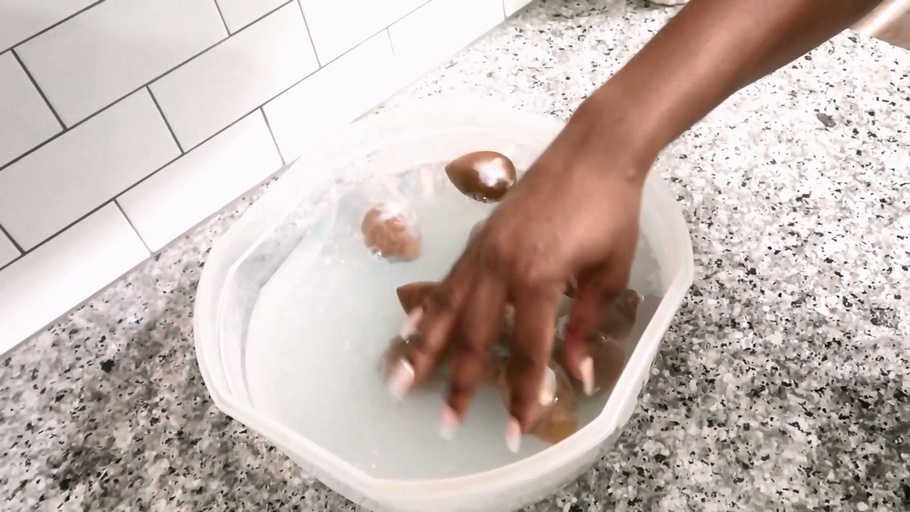
Massaging and Squeezing the Sponge
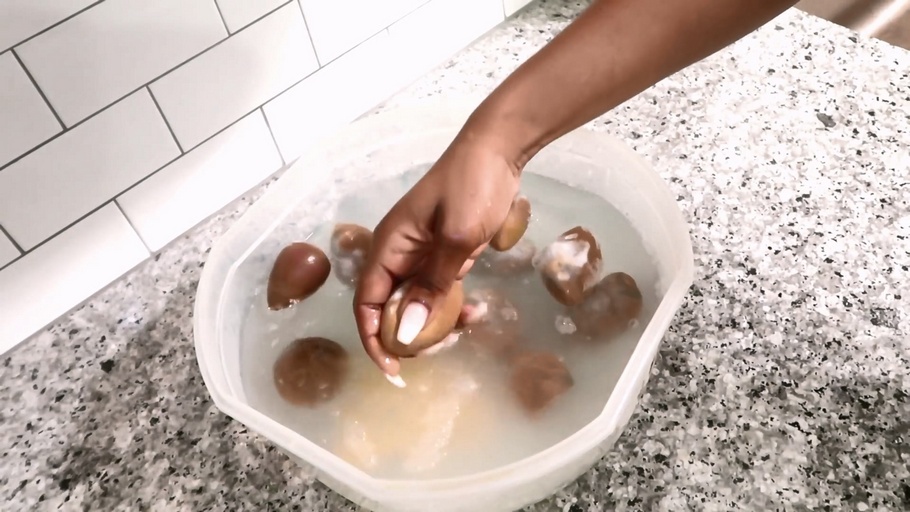
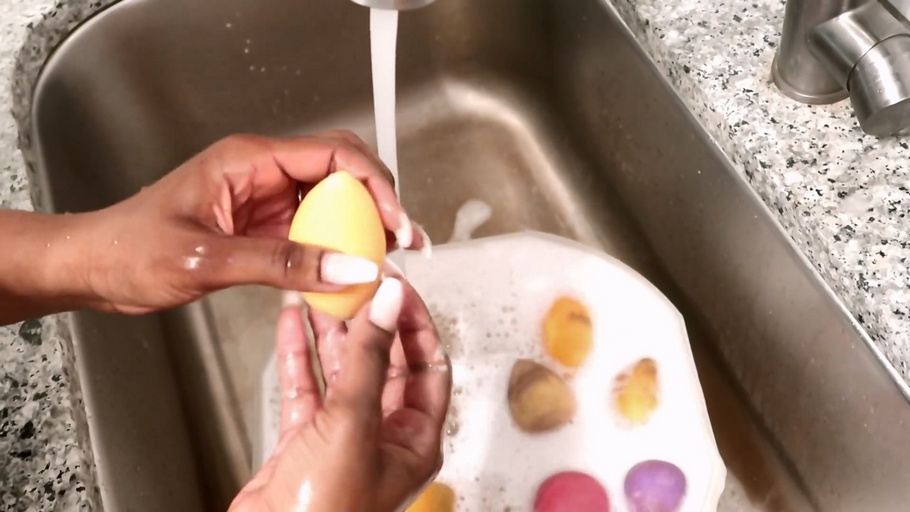
Using your fingers, gently massage the sponge in a circular motion. This helps to loosen and break down the makeup residue and oils trapped within the sponge. Squeeze the sponge repeatedly to expel the dirty water and draw in fresh, clean water. Continue this process until the water runs clear.
-
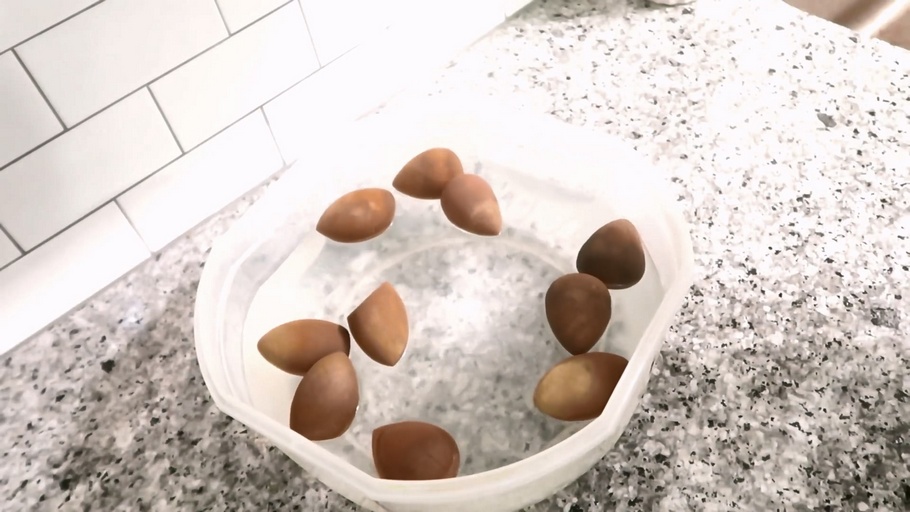
Rinsing the Sponge

Once the sponge is clean, rinse it under running water to remove any remaining soap residue. Squeeze the sponge gently to ensure all traces of soap are eliminated.
-
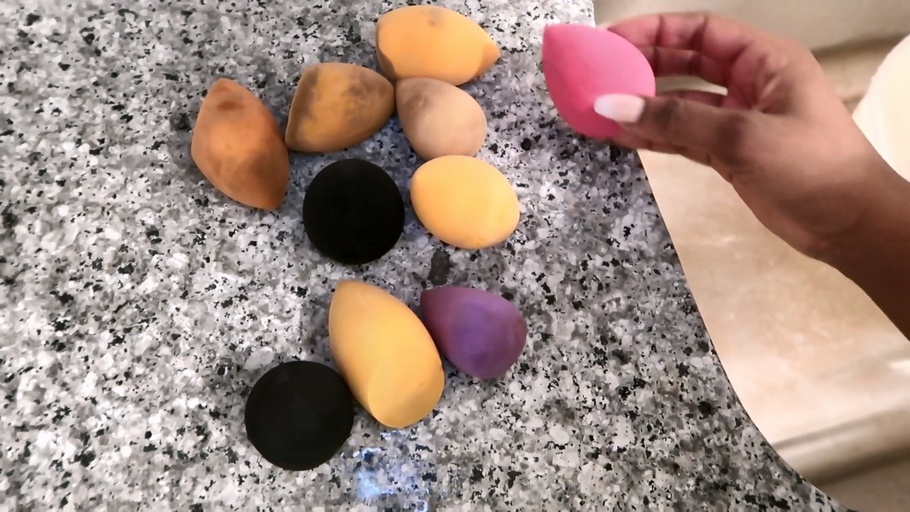
Drying the Sponge

- Gently squeeze out any excess water from the sponge.
- Place the sponge on a clean towel or paper towel.
- Allow the sponge to air dry completely before storing or using it again.


Alternative Cleaning Methods
If you’re looking for alternative ways to clean your makeup sponge, consider the following methods:
- Microwave Method: Dampen the sponge, place it in a microwave-safe bowl filled with water and mild soap, and heat it in short bursts until the water boils. Allow the sponge to cool before rinsing and drying.
- Brush Cleanser: Some brush cleansers can also be used to clean makeup sponges. Follow the instructions provided with the cleanser for best results.
How to Properly Store Makeup Sponge
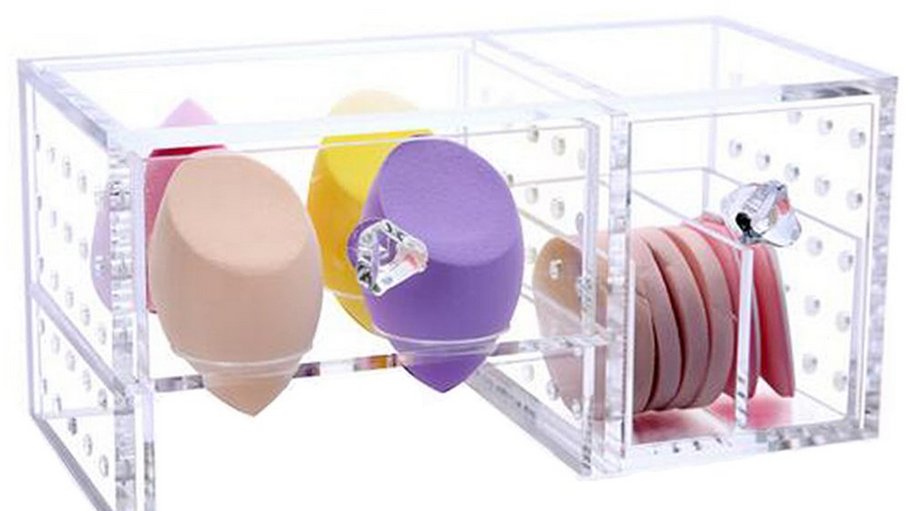
- Ensure that the sponge is completely dry before storing it. Excess moisture can lead to the growth of bacteria and mold.
- Store the sponge in a clean and dry location. Avoid storing it in a damp or humid environment, such as a bathroom.
- If possible, store the sponge in a container or case that allows it to breathe. This helps to prevent the buildup of bacteria and mold.
- Avoid storing the sponge in direct sunlight or heat, as this can damage the sponge’s material and shape.
Conclusion
Regularly cleaning your makeup sponge is essential for maintaining a flawless and hygienic makeup application. By following the step-by-step guide provided in this article, you can ensure that your sponge remains clean, bacteria-free, and ready to deliver a seamless finish every time you use it.
FAQs
- How often should I clean my makeup sponge?
- It is recommended to clean your makeup sponge after every use or at least once a week.
- Can I use dish soap to clean my makeup sponge?
- It is best to use a mild liquid soap or cleanser specifically designed for cleaning makeup tools.
- Can I machine wash my makeup sponge?
- Machine washing is not recommended, as it can damage the sponge’s material and shape.
- How long do makeup sponges last?
- With proper care and regular cleaning, makeup sponges can last up to three months or longer.
- Can I use an antimicrobial spray to clean my sponge?
- Yes, you can use an antimicrobial spray or brush cleanser to disinfect your makeup sponge between deep cleanings.