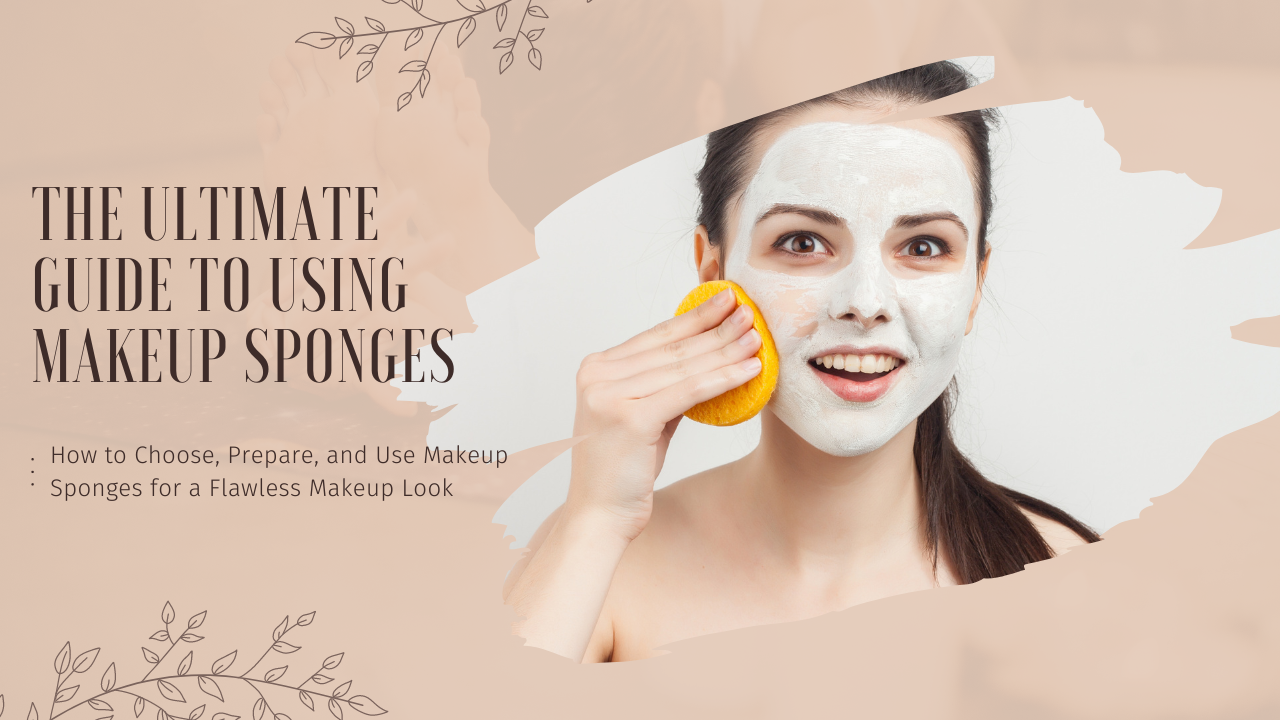
The Ultimate Guide to Using Makeup Sponges: How to Choose, Prepare, and Use Makeup Sponges for a Flawless Makeup Look
A makeup sponge is a versatile tool that can be used to apply, blend, and even out makeup. It is a great way to achieve a flawless makeup look without the need for brushes. Makeup sponges come in a variety of shapes, sizes, and materials, so you can find one that is perfect for your needs.
Benefits of Using a Makeup Sponge
There are many benefits to using a makeup blender, including:
- Even application: Makeup sponges can help you apply makeup evenly. This is because the sponge absorbs excess product, which can help to prevent streaks and uneven coverage.
- Natural finish: Makeup sponges can help you achieve a natural-looking finish. This is because the sponge can be used to gently blend out harsh lines and create a seamless, airbrushed look.
- Easy to use: Makeup sponges are very easy to use, even for beginners. Simply wet the sponge, apply your desired product, and then blend it onto your skin.
- Affordable: Makeup sponges are a very affordable way to apply makeup. You can find them for as little as $5, which is a fraction of the cost of a high-end makeup brush.
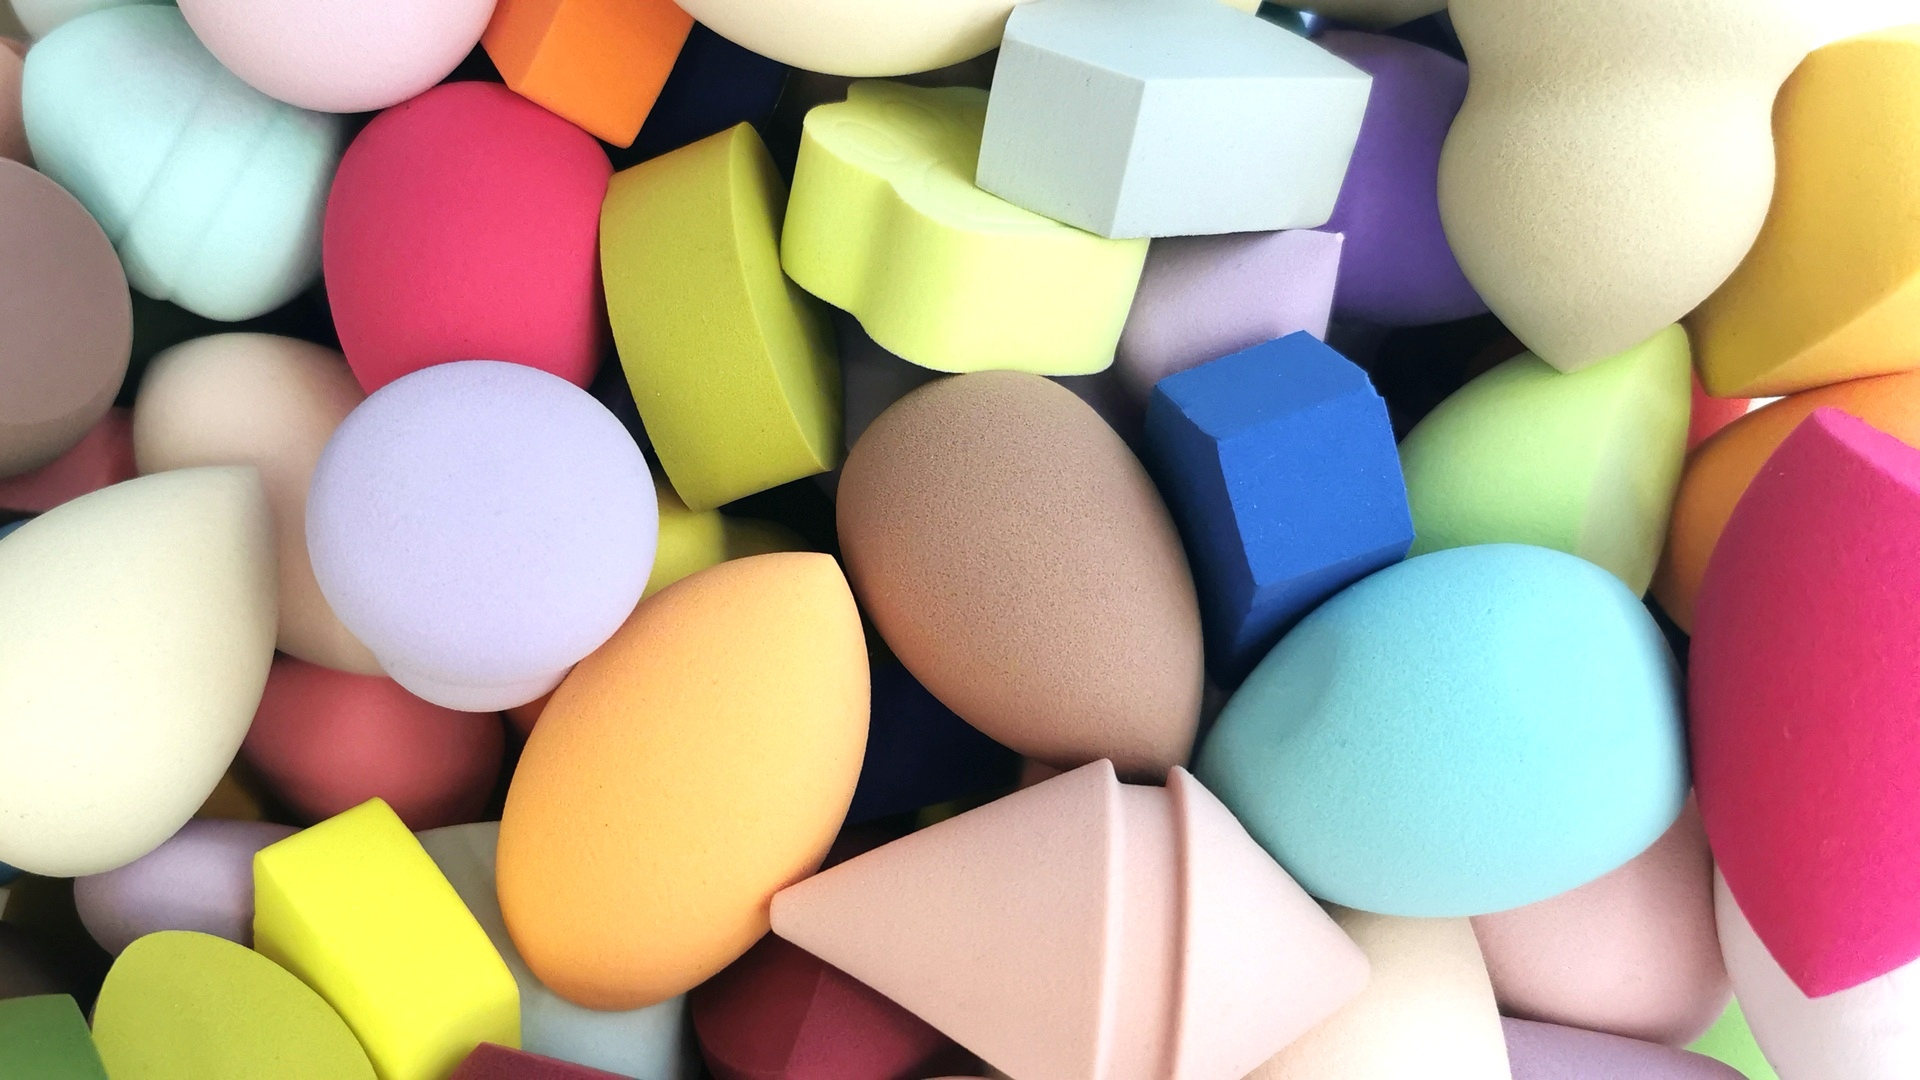
Types of Makeup Sponges
Types of Makeup Sponges (Categorized by Material)
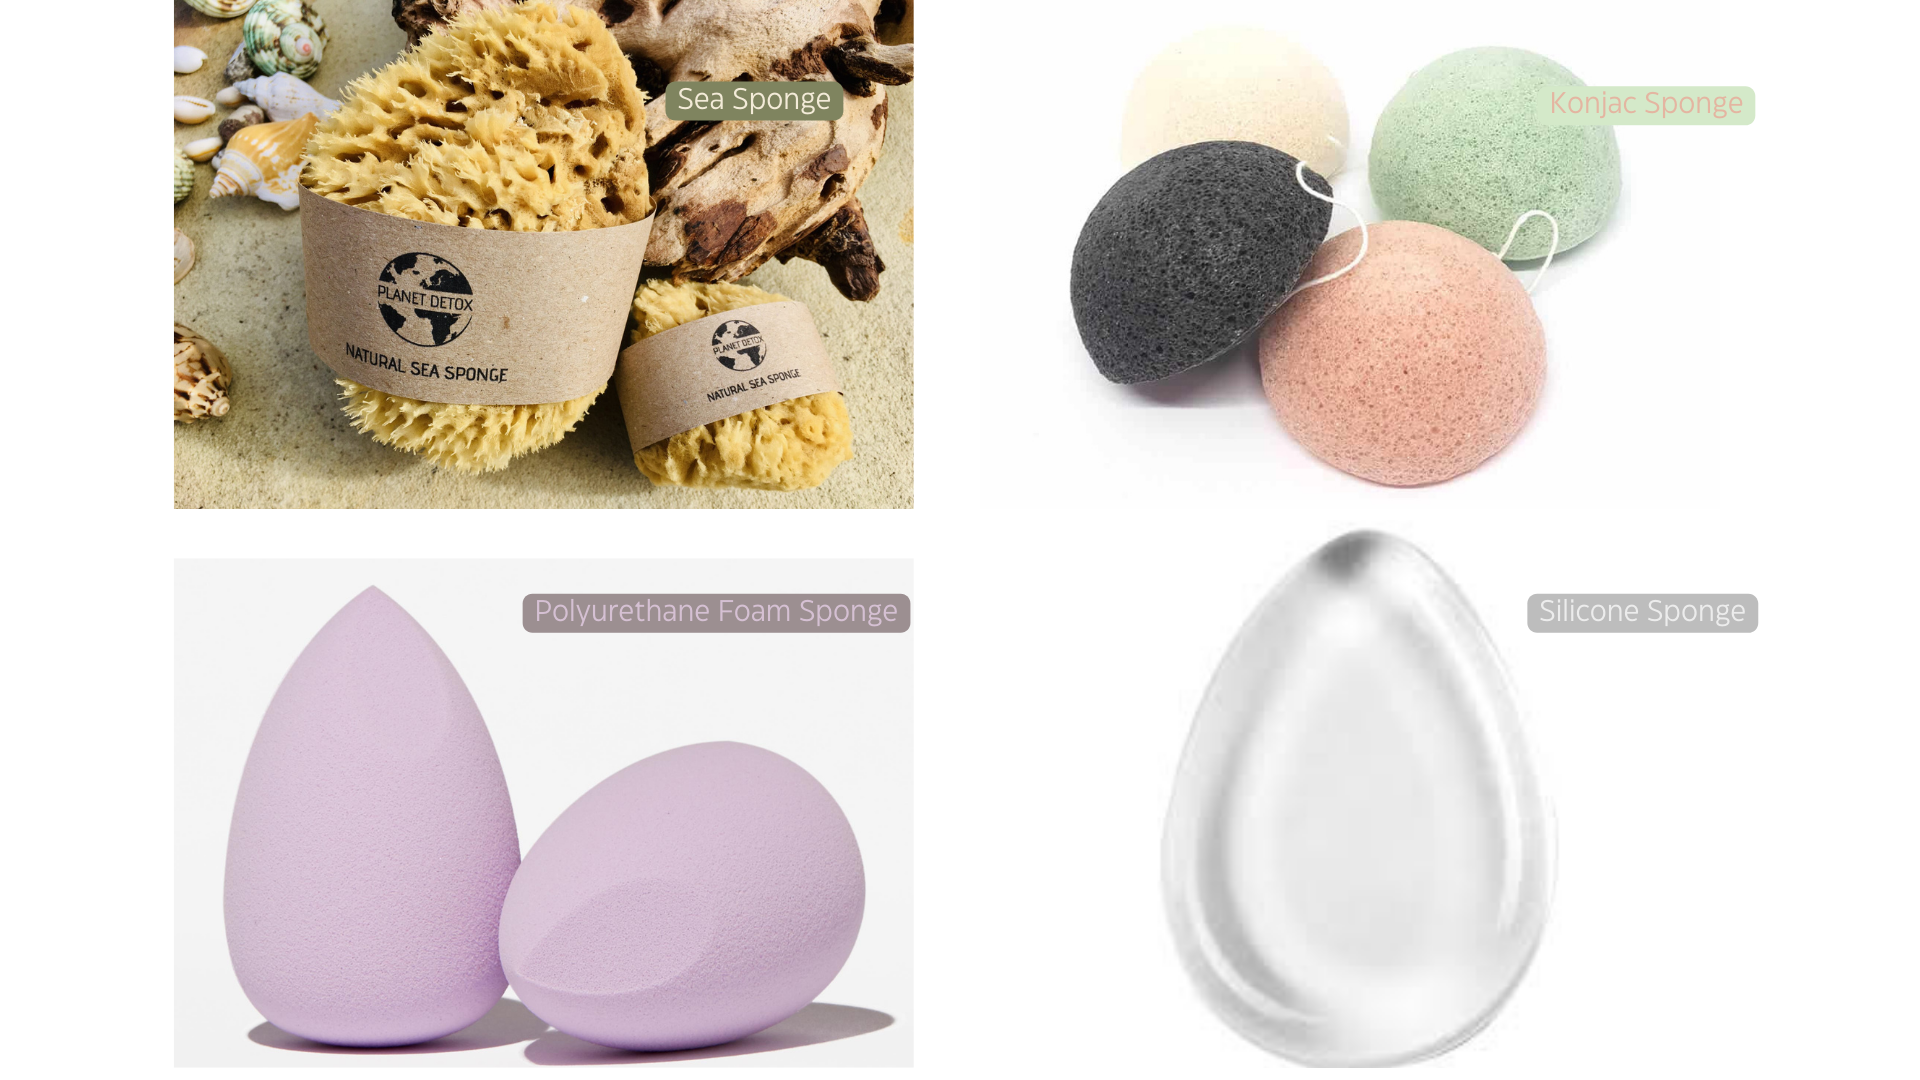
- Natural Makeup Sponges
- Sea Sponge: Sea sponges are a natural, biodegradable option that are gentle on the skin. They are great for applying liquid and cream makeup products and can be used wet or dry.
- Konjac Sponge: Konjac sponges are made from the root of the konjac plant. They are very gentle on the skin and are a good option for sensitive skin types.
2. Synthetic Makeup Sponges
- Polyurethane Foam Sponge: Polyurethane foam sponges are the most common type of synthetic makeup sponge. They are great for applying liquid and cream makeup products and can be found in a variety of shapes and sizes.
- Silicone Sponge: Silicone sponges are made from silicone and are very easy to clean. They are a good option for applying liquid and cream makeup products.
Types of Makeup Sponges ( Categorized by Shape)
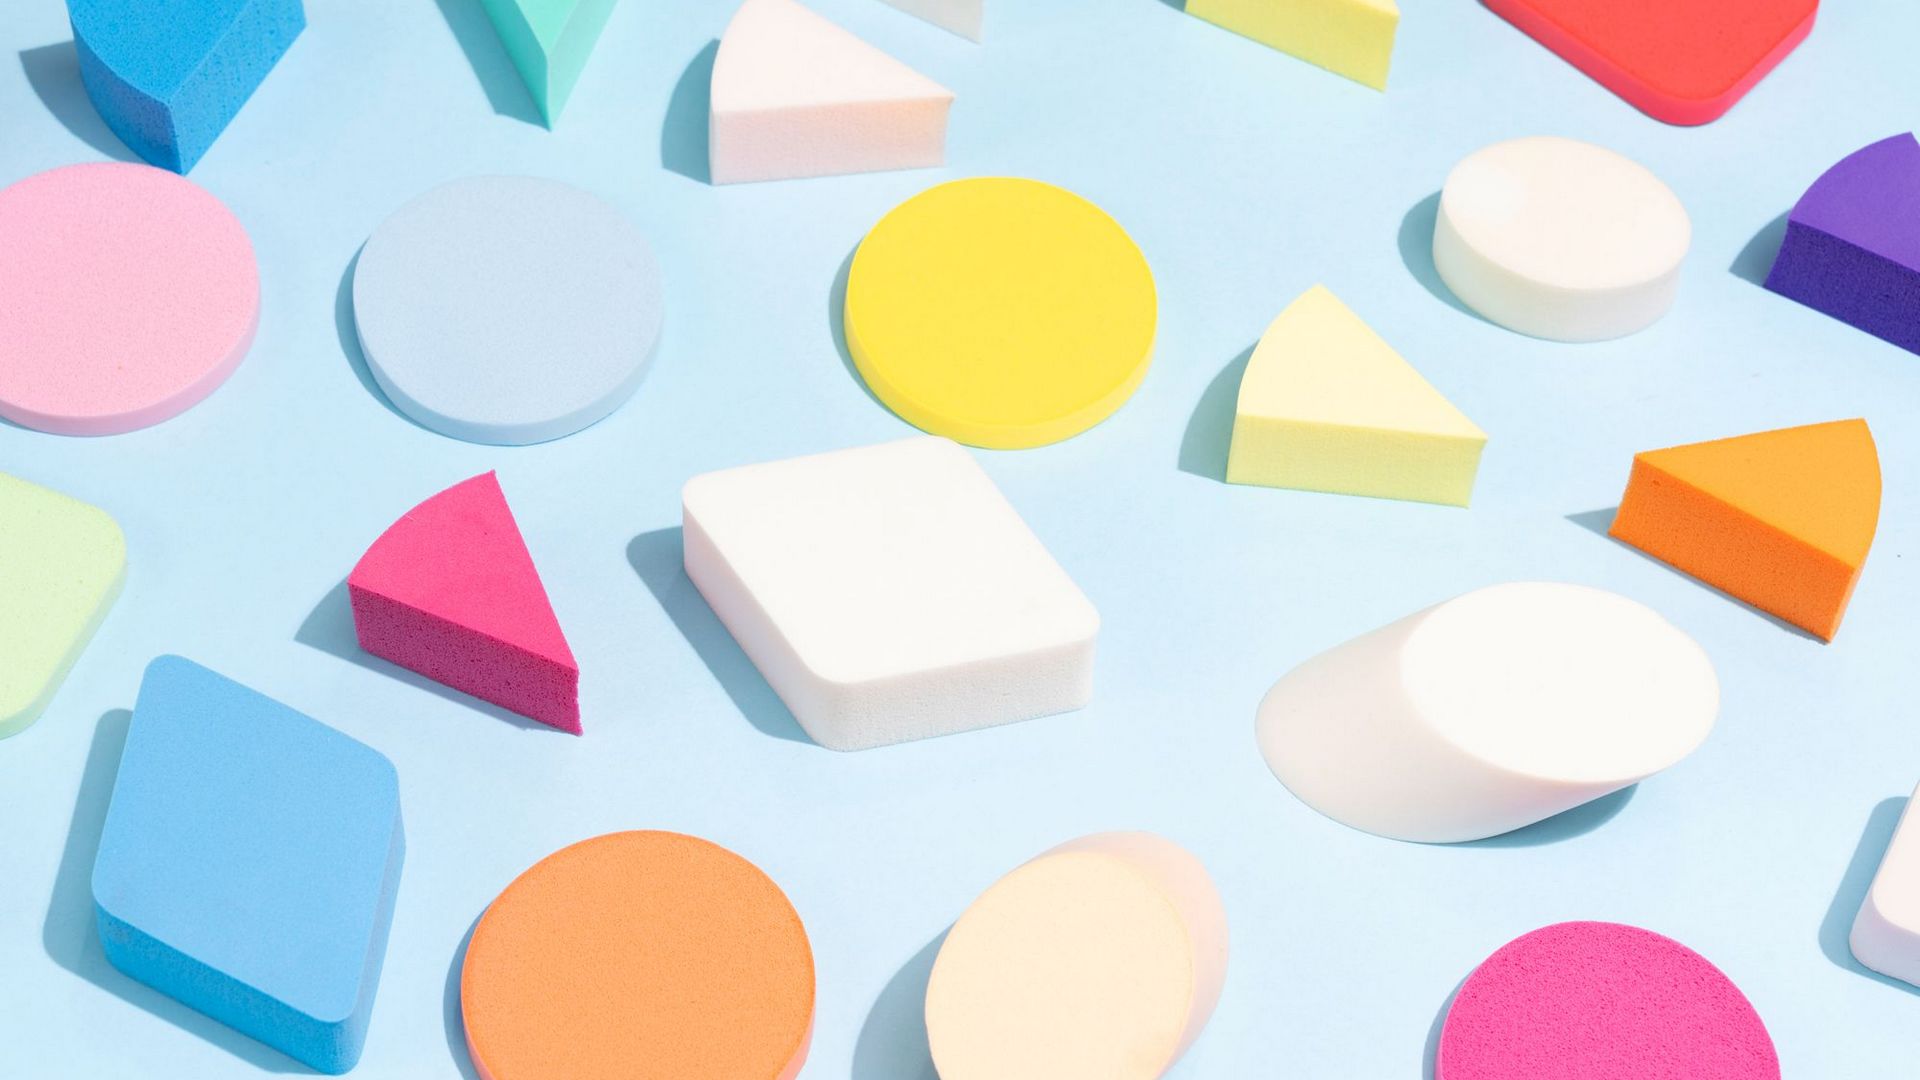
- Round Sponge
A round sponge is a good all-purpose sponge. It can be used to apply liquid, cream, and powder products. The rounded shape makes it easy to apply product to large areas of the face, such as the cheeks and forehead.
2. Triangle Sponge
A triangle sponge is a good option for applying contour and highlight. The pointed end makes it easy to apply product to small areas of the face, such as the nose and under the eyes.
3. Hourglass Sponge
An hourglass sponge is a good option for applying foundation. The curved shape fits the contours of the face, making it easy to blend product into the skin.
4. Flat Sponge
A flat sponge is a good option for applying powder products. The flat surface makes it easy to apply product to large areas of the face, such as the cheeks and forehead.
5. Sculpting Sponge
A sculpting sponge is a good option for creating sharp lines and contours. The angled shape makes it easy to apply product precisely, and the flat edge can be used to blend out harsh lines.
6. Egg-Shaped Sponge
An egg-shaped sponge is a popular option for applying liquid and cream products. The rounded bottom makes it easy to apply product to large areas of the face, while the pointed end can be used to apply product to smaller areas, such as under the eyes.
7. Diamond-Shaped Sponge
A diamond-shaped sponge is a good option for applying product to hard-to-reach areas, such as around the nose and eyes. The pointed end makes it easy to apply product precisely, while the flat edge can be used to blend out harsh lines.
8. Boomerang Sponge
A boomerang sponge is a good option for applying product to the contours of the face, such as the jawline and cheekbones. The curved shape fits the contours of the face, making it easy to blend product into the skin.
9. Petal-Shaped Sponge
A petal-shaped sponge is a good option for applying product to the contours of the face. The curved shape fits the contours of the face, making it easy to blend product into the skin. The petals can also be used to apply product to hard-to-reach areas, such as around the nose and eyes.
Types of Makeup Sponges (Categorized by function)
- Application Sponge
An application sponge is a versatile tool that can be used to apply a variety of makeup products, including foundation, concealer, and powder. It is typically made from polyurethane foam or silicone.
2. Blending Sponge
A blending sponge is used to blend makeup products and create a seamless, airbrushed look. It is typically made from polyurethane foam or natural materials such as sea sponge or konjac sponge.
3. Contour Sponge
A contour sponge is a specialized sponge used to apply and blend contour products. It is typically shaped like a triangle or boomerang, and is made from polyurethane foam or silicone.
4. Powder Sponge
A powder sponge is used to apply powder products, such as setting powder or bronzer. It is typically flat or wedge-shaped, and is made from polyurethane foam or natural materials such as sea sponge.
5. Detail Sponge
A detail sponge is a small, pointed sponge used to apply makeup to small areas of the face, such as around the nose and eyes. It is typically made from polyurethane foam or silicone.
6. Foundation Sponge
A foundation sponge is used to apply and blend foundation products. It is typically shaped like an egg or hourglass, and is made from polyurethane foam or natural materials such as sea sponge.
7. Concealer Sponge
A concealer sponge is used to apply and blend concealer products. It is typically small and pointed, and is made from polyurethane foam or natural materials such as sea sponge.
8. Blush Sponge
A blush sponge is used to apply and blend blush products. It is typically wedge-shaped, and is made from polyurethane foam or natural materials such as sea sponge.
9. Highlight Sponge
A highlight sponge is used to apply and blend highlight products. It is typically small and pointed, and is made from polyurethane foam or natural materials such as sea sponge.
How to Choose the Right Makeup Sponge for Your Needs
When choosing a makeup blender, there are a few factors to consider, including:
- Shape: The shape of the sponge will determine how it can be used. For example, a round sponge is a good all-purpose sponge, while a triangle sponge is a good option for applying contour and highlight.
- Size: The size of the sponge will determine how much product it can hold. A small sponge is a good option for applying concealer, while a large sponge is a good option for applying foundation.
- Material: The material of the sponge will determine how it feels on your skin and how it blends makeup. For example, a natural sponge is soft and gentle on the skin, while a synthetic sponge is more durable and can be used with heavier products.
- Price: Makeup sponges come in a variety of price ranges. You can find affordable sponges that work just as well as high-end sponges.
How to Prepare Your Makeup Sponge
- Wet the sponge thoroughly then squeeze out excess water till it’s damp – not dripping wet. A damp sponge blends product most evenly.
- Squeeze and bounce the sponge a few times so it regains its shape and activates the fiber structures within.
- ‘Prime’ powder sponges by first buffing translucent or setting powder into them to help them ‘grab’ powder products better.
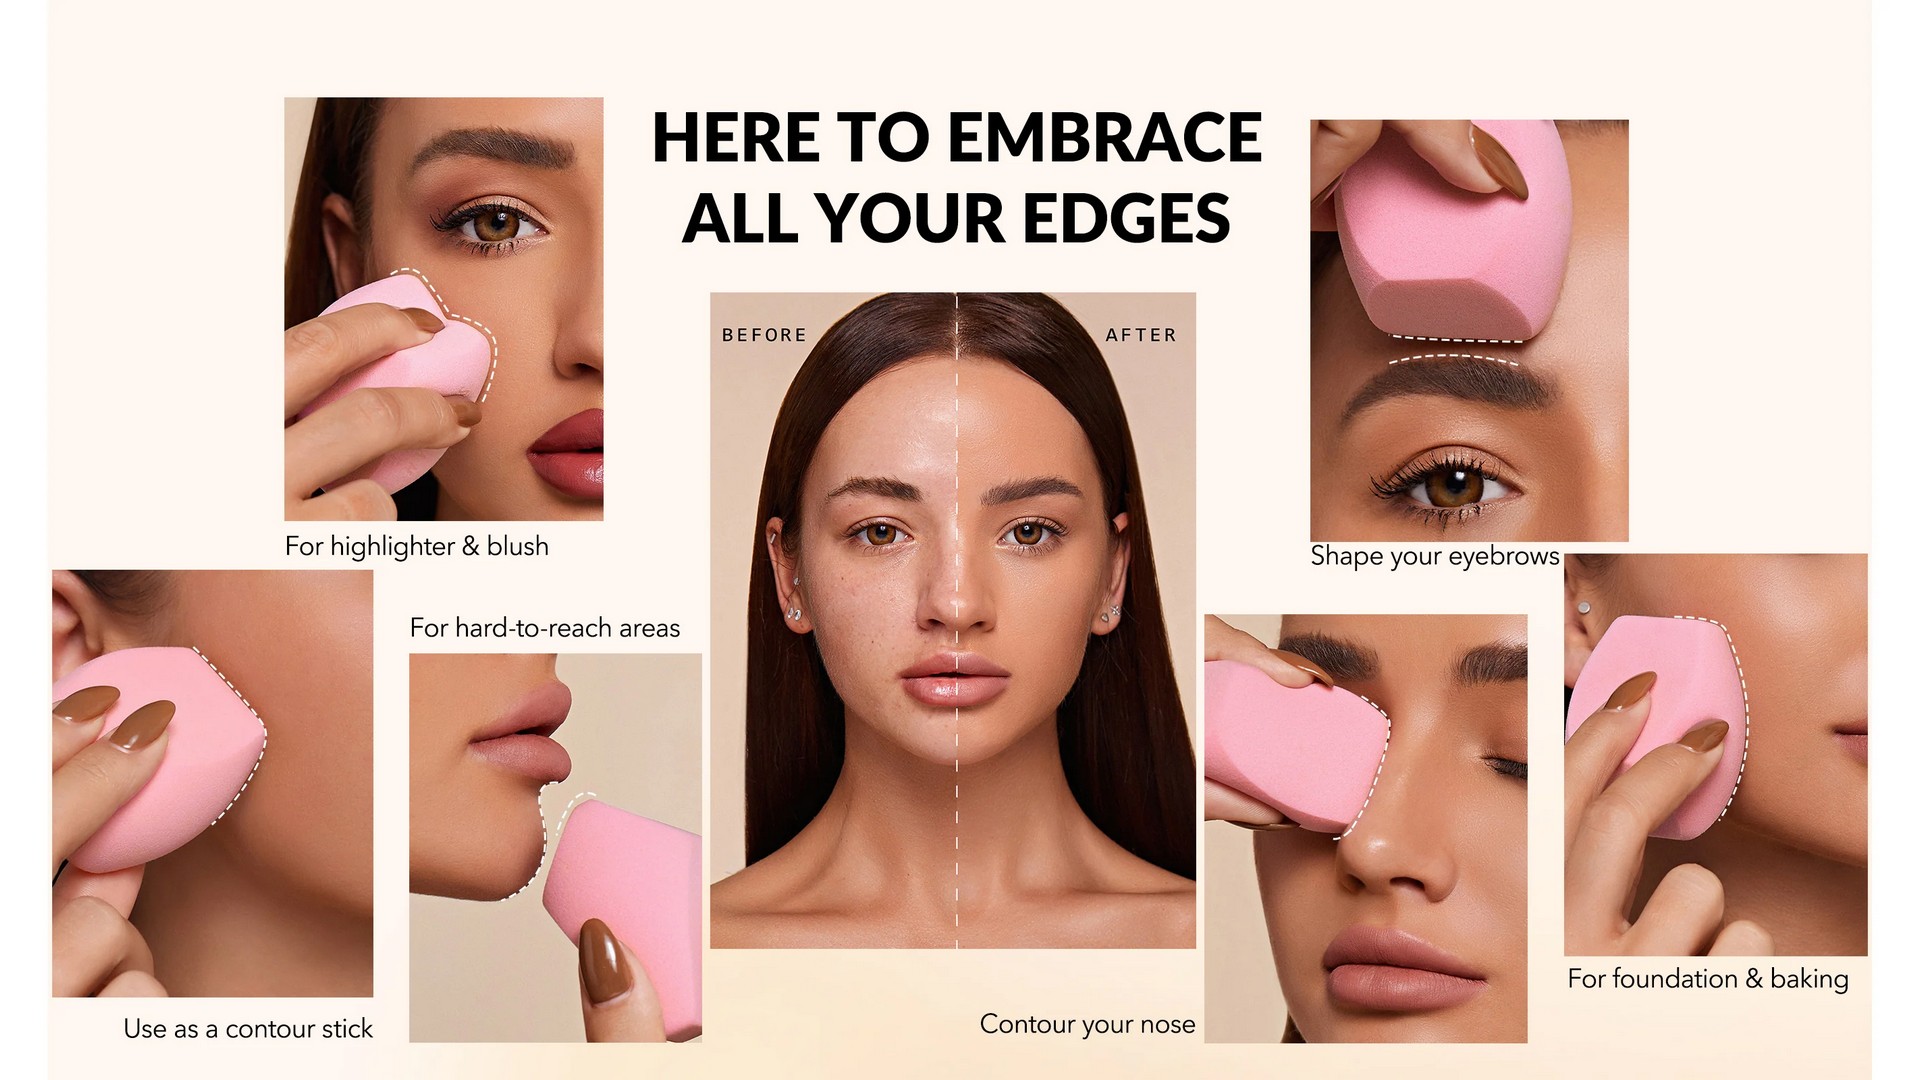
Step-by-Step Guide to Using a Makeup Sponge
- ‘Fill up’ the sponge by pressing or rolling it over the product to absorb just the right amount.
- Gently bounce or dab the damp sponge all over your face in circular motions to evenly blend liquid foundations.
- Press and roll the sponge onto targeted areas to ‘pat’ cream and powder products onto skin, then blend outwards.
- Experiment with different techniques to find your perfect application method – always using a light touch to avoid streaking.
Tips for Using a Makeup Sponge
- Light touch: Use a light touch when blending. Too much pressure can create streaks and uneven coverage..
- Baking: Baking is a technique that uses powder to set makeup and create a long-lasting finish. To bake, apply a thick layer of powder to your face using a damp makeup sponge. Then, let the powder sit for a few minutes before brushing it away.
- Stippling: Stippling is a technique that uses a small, dense sponge to apply foundation or concealer. To stipple, apply the product to the sponge and then dab it onto your skin in a stippling motion. This will help to create a natural-looking finish.
- Cutting your makeup sponge: You can cut your makeup blender to create different shapes and sizes. This can be helpful for applying makeup to specific areas of your face. For example, you can cut a triangle sponge in half to create two smaller sponges that are perfect for applying contour.
How to clean and maintain your makeup sponge
- Clean your makeup sponge after each use. This will help to prevent the build-up of bacteria and keep your sponge looking and feeling its best.
- Use a mild soap and water to clean your sponge. Avoid using harsh detergents or chemicals, as these can damage the sponge.
- Rinse your sponge thoroughly after cleaning. Make sure to remove all traces of soap and water.
- Squeeze out as much water as possible from your sponge. You can use a clean towel to help with this.
- Allow your sponge to air dry completely. Do not use heat to dry your sponge, as this can damage it.
- Store your makeup sponge in an airtight container when you are not using it. This will help to prevent the sponge from getting dirty or dusty.
Here are some additional tips on how to clean your makeup sponge:
- Use a makeup sponge cleanser. There are many different makeup sponge cleansers available, so you can find one that works best for you.
- Microwave your makeup sponge. This is a quick and easy way to clean your sponge. Simply place your sponge in a microwave-safe bowl and add a few drops of soap. Microwave the sponge for 30 seconds to 1 minute, or until it is clean.
- Use a brush. If your sponge is particularly dirty, you can use a brush to help clean it. Simply wet the brush with soap and water and scrub the sponge until it is clean.
- Replace your makeup sponge regularly. It is recommended to replace your makeup sponge every 3-4 months. This will help to ensure that your sponge is clean and sanitary.
Conclusion
In conclusion, using a makeup sponge can be a great way to achieve a flawless makeup look. There are many different types of makeup sponges available, so you can find one that is perfect for your needs. When choosing a makeup sponge, consider factors such as shape, size, material, and price. Once you have your sponge, make sure to clean and maintain it regularly to prevent the build-up of bacteria and ensure that it lasts a long time. With these tips and tricks, you can use a makeup sponge to create a beautiful and natural-looking makeup look every time.