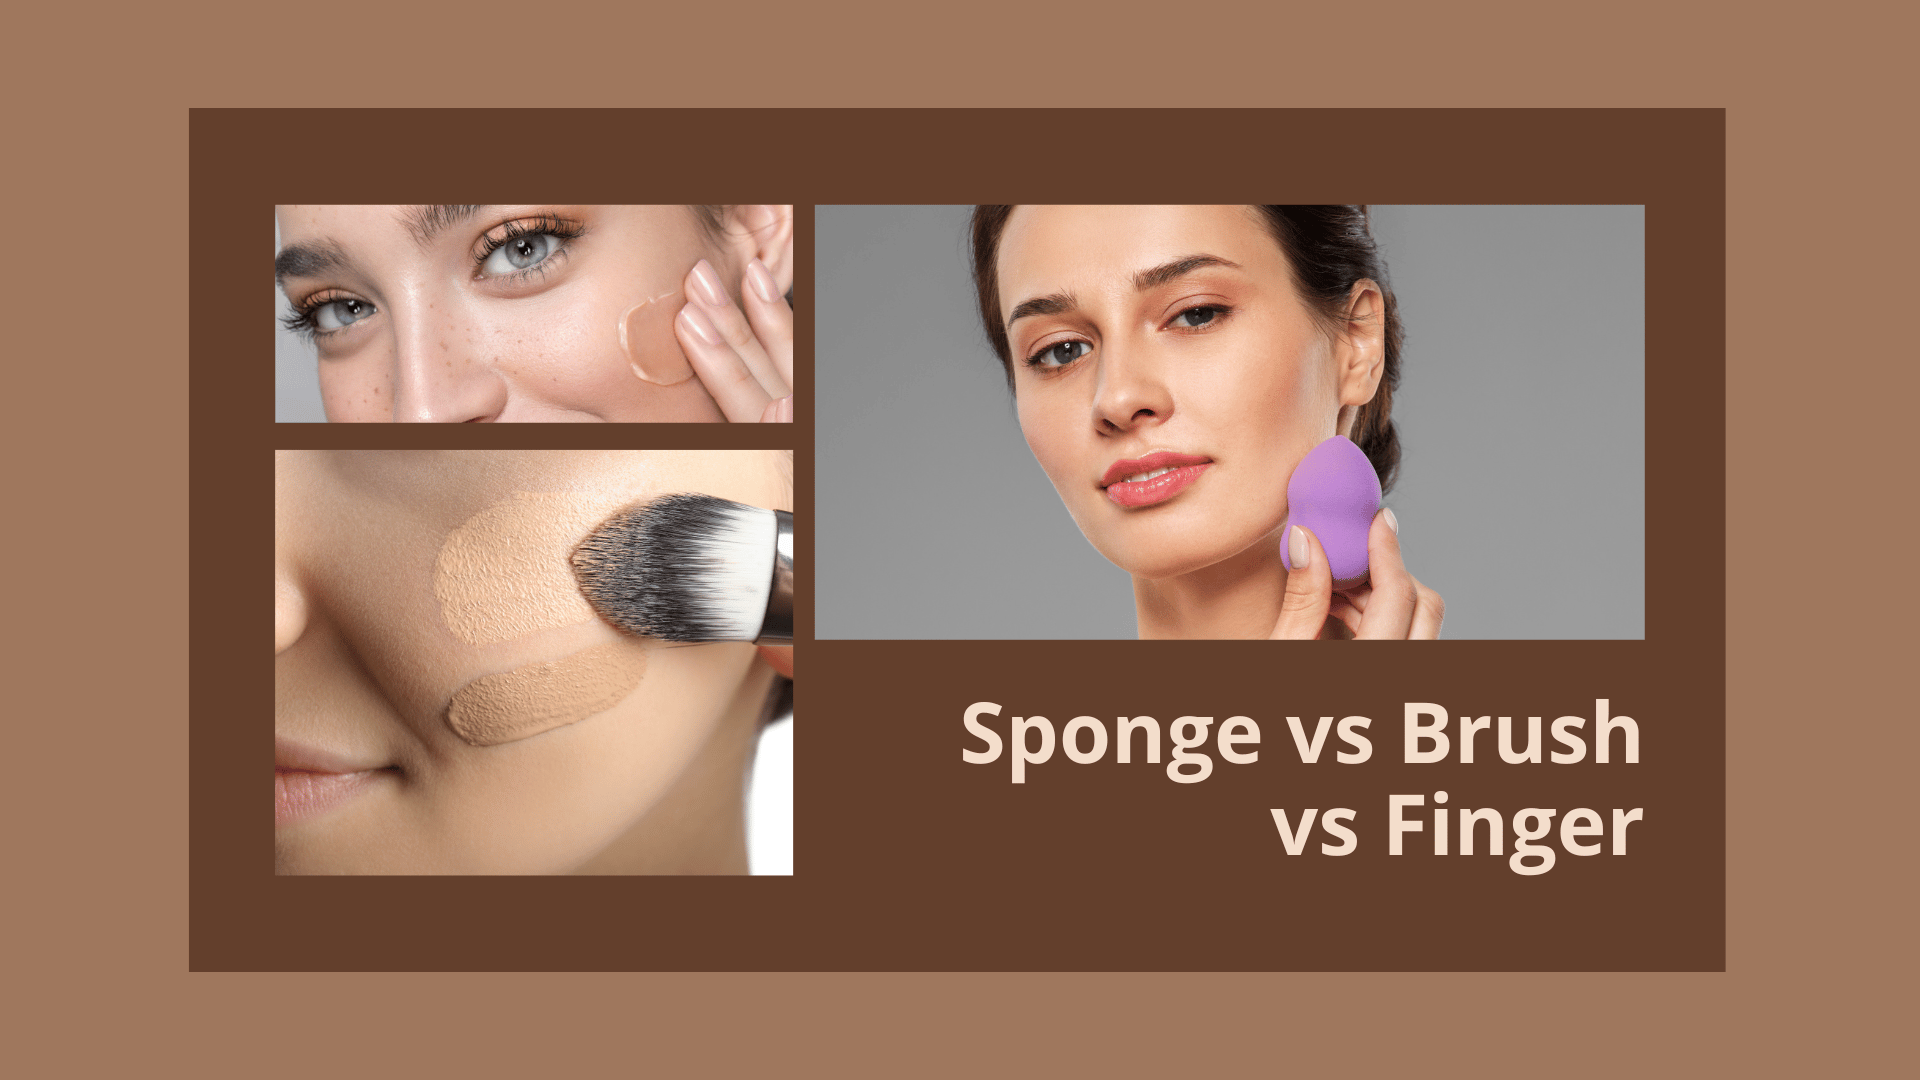
How to Apply Foundation With a Sponge, Brush, or Your Fingers
Applying foundation is an art that can be mastered with the right technique. Whether you prefer a flawless airbrushed finish or a natural-looking glow, the method you choose plays a vital role in achieving your desired results. Let’s dive into the three primary methods of applying foundation: using a sponge, brush, or your fingers.
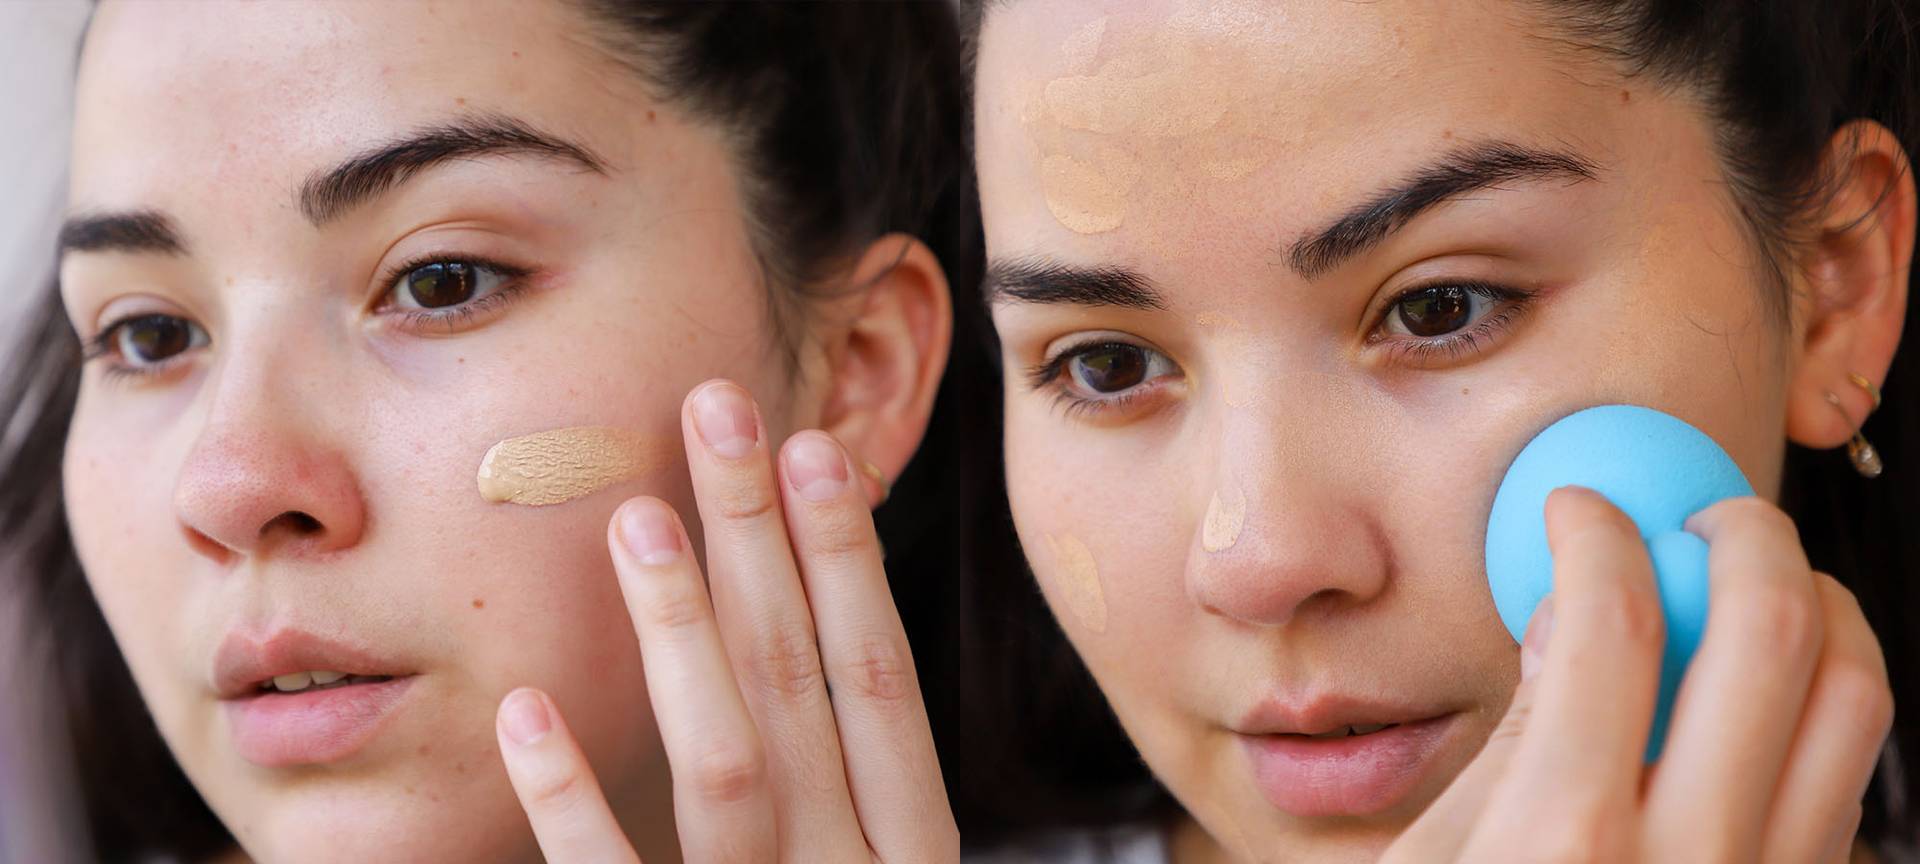
1. Applying Foundation with a Sponge
Using a sponge for foundation application offers a seamless and blended finish. The sponge helps distribute the product evenly and provides a smooth, airbrushed effect.
1. 1 The ways to applying foundation with a sponge
- Preparing the Sponge
Before you start, ensure that your sponge is clean and damp. Run it under water and squeeze out any excess moisture. A damp sponge will help prevent the foundation from being absorbed, allowing for better coverage.
- Applying Foundation with a Damp Sponge
- Dispense a small amount of foundation onto the back of your hand or a palette.
- Dip the damp sponge into the foundation and gently dab it onto your face.
- Start at the center of your face and blend the foundation outwards, using light tapping motions.
- Continue blending until you achieve a seamless finish, ensuring there are no harsh lines or uneven patches.
- Applying Foundation with a Dry Sponge
If you prefer a more natural finish with lighter coverage, you can also use a dry sponge. The dry sponge will absorb some of the foundation, resulting in a sheerer application.
- Follow the same steps as mentioned in section 1.1.2 but use a dry sponge instead.
- Apply the foundation using the same tapping motions, focusing on areas where you need coverage.
- Blend the foundation gently for a natural-looking finish.
1. 2 The pros and cons of applying foundation with a sponge
| Pros | Cons |
|---|---|
| Provides a seamless and blended finish | Can absorb too much product, resulting in wastage |
| Distributes the product evenly | Can be difficult to clean and maintain |
| Provides a smooth, airbrushed effect | Can be less hygienic than other methods |
| Can be used wet or dry for different coverage levels | Can be time-consuming to blend for a flawless finish |
“I’m a big believer in using a sponge for blending foundation. It gives you the most natural finish and doesn’t leave any streaks.” – Bobbi Brown
2. Applying Foundation with a Brush
Using a brush for foundation application provides precision and control. It allows you to build up coverage gradually and reach difficult areas such as around the nose and eyes.
2. 1 The ways to applying foundation with a brush
- Choosing the Right Brush
Selecting the right brush is essential for achieving a flawless foundation application. A flat-top or dense brush works well for liquid or cream foundations, while a fluffy brush is suitable for powder foundations. Ensure that your brush is clean and free from any previous makeup residue.
- Applying Foundation with a Brush
- Dispense a small amount of foundation onto the back of your hand or a palette.
- Dip the brush into the foundation and start by applying it in the center of your face.
- Use sweeping or circular motions to blend the foundation outwards, focusing on one section at a time.
- Continue blending until you achieve an even and seamless finish.
2. 2 The pros and cons of applying foundation with a brush
| Pros | Cons |
|---|---|
| Provides precision and control | Can leave brush strokes and streaks if not blended properly |
| Allows for gradual build-up of coverage | Can be difficult to clean and maintain |
| Reaches difficult areas such as around the nose and eyes | Can be less hygienic than other methods |
| Suitable for liquid, cream, and powder foundations | Can be time-consuming to blend for a flawless finish |
| Can be used for contouring and highlighting | Requires the purchase of a separate tool |
“If I want a seamless wash or blend, I love a sponge, but for saturation or precision, I use a brush,”makeup artist Abraham Sprinkle once said.
3. Applying Foundation with Your Fingers
Using your fingers for foundation application offers convenience and a natural finish. The warmth of your fingers helps to melt the foundation into your skin, creating a seamless look. Here’s how you can apply foundation with your fingers:
3. 1 The ways to applying foundation with fingers
- Preparing Your Skin
Wash your hands thoroughly before starting to ensure cleanliness. Apply a moisturizer and let it absorb into your skin before moving on to foundation application.
- Applying Foundation with Your Fingers
- Dispense a small amount of foundation onto the back of your hand.
- Dot the foundation onto your forehead, cheeks, nose, and chin.
- Use your fingertips to blend the foundation into your skin, starting from the center and working your way outwards.
- Continue blending until the foundation is evenly distributed and seamlessly blended.
3. 2 The pros and cons of applying foundation with fingers
| Pros | Cons |
|---|---|
| Offers convenience | Can result in uneven coverage if not blended properly |
| Provides a natural finish | May transfer oils and bacteria from your fingers to your face |
| Allows the warmth of your fingers to melt the foundation into your skin | Can be difficult to apply in hard-to-reach areas |
| Does not require the purchase of any additional tools | Can be less precise than other methods |
| Can be used for touch-ups on the go | May not provide enough coverage for severe blemishes or discoloration |
Blushington’s makeup and beauty lounge expert, Samantha Freda, “The difference between brushes, sponges, and using your fingers is all about the product being used at the time.” For instance, “Fingers are great for products that need to be warmed up a bit to blend.”
4. Conclusion
Choosing the best tool for applying foundation depends on the type of cosmetic product you are using and your skincare routine. It is recommended to experiment with different methods to find the one that suits your preferences and desired finish. Starting with a clean canvas and blending well is crucial for a flawless and natural-looking complexion. Therefore, it is best to try out each method to find out which one works best for you.
FAQs
1. How do I clean my foundation sponge or brush?
To clean a foundation sponge, wash it with mild soap and warm water, squeezing it gently to remove any product buildup. For brushes, use a brush cleanser or mild shampoo and rinse thoroughly, ensuring all residue is removed. Allow them to dry completely before using them again.
2. Should I moisturize my skin before applying foundation?
Yes, moisturizing your skin before foundation application is essential. It helps create a smooth canvas, improves foundation application, and keeps your skin hydrated throughout the day.
3. Can I use a combination of these methods for foundation application?
Absolutely! You can customize your foundation application by using a combination of these methods. For example, you can use a brush to apply the foundation and then blend it further with a damp sponge for a flawless finish.
Related Blogs
Beauty 101: How to Choose the Right Makeup Brush for Your Skin Type and Product
How to Clean and Sanitize Your Makeup Brushes for Hygienic Makeup Application